

Hi everyone! Today I prepared a little tutorial for you! This is a pumpkin pincushion. It is a very easy project and a great fall home decoration! You can enlarge the pattern and make many of these in different sizes, and decorate your home! :)
You will need:
- The Pattern (below)
- Orange cotton
- Small piece of green or brown cotton for the stem
- Polyester stuffing
- Big needle and thick thread
- Piece of twine for decoration
- sew all pieces with right sides together
1) Download the pattern and print it. The pattern fits the standard size paper. The square should be 1" X 1"
If you enlarge the pattern you can make a bigger pumpkin or even a pillow pumpkin.
❤
Всем доброго дня! :) Сегодня мой мастер-класс посвящается игольнице-тыковке. Это очень простой в изготовлении и очень нужный аксессуар для всех рукодельниц, а также отличный осенний декор для дома. Таких тыковок можно наделать много и разного размера и украсить ими, например, кухню! :)
Итак, приступим!
Нам понадобится:
- Выкройка (см. ниже)
- Оранжевый хлопок (можно и лён)
- Маленький кусочек зелёного или коричневого хлопка для черенка
- Наполнитель (напр. синтепух)
- Большая иголка и толстая нитка (напр. ирис)
- Кусочек шпагата для украшения
Примечание:
- Швы в выкройку не включены. Добавьте на швы 5-6мм.
- Сшивайте все части на левой стороне.
1) Скачайте выкройку на компьютер и распечатайте так, чтобы выкройка вошла на лист А4.
Если увеличить масштаб, то можно сшить большую тыкву, например подушку.

2) Cutting:
- cut 6 pumpkin pieces
- cut 2 stem pieces
❤
2) Вырезаем:
- тыква - 6 частей
- черенок - 2 части
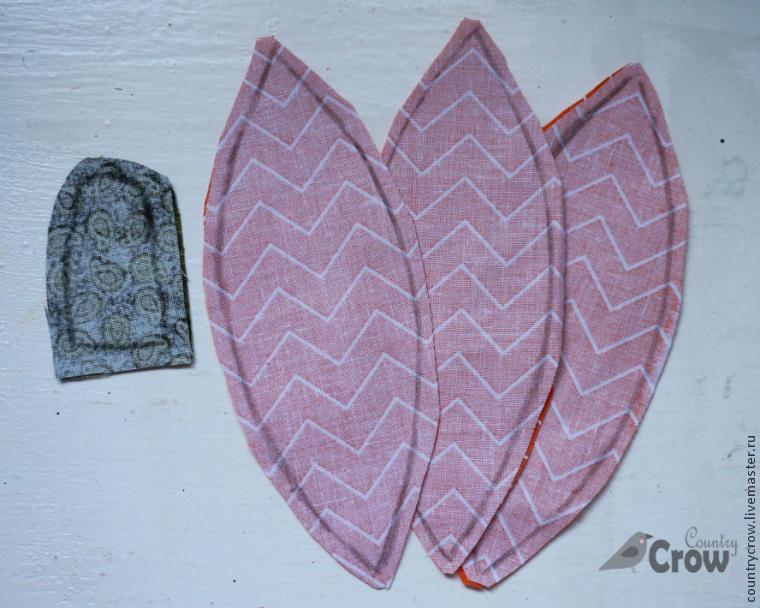
3) Sewing:
❤
3) Сшиваем:
Сшейте по три части тыквы. Получатся две половинки.
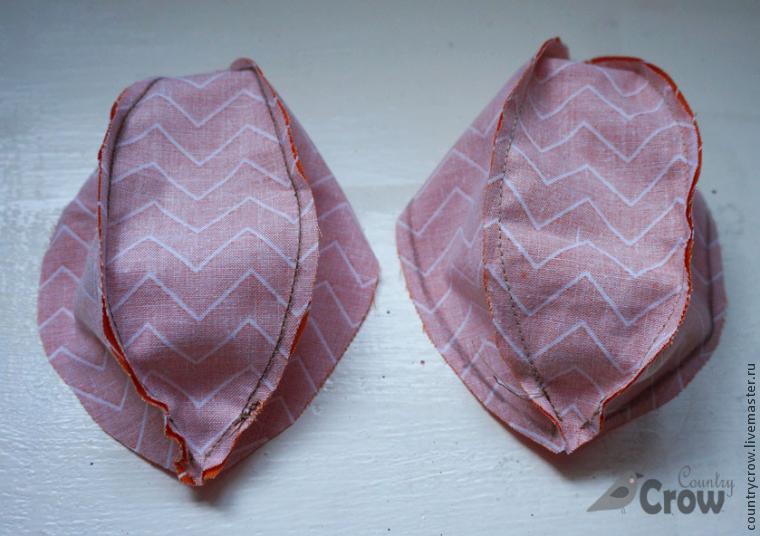
❤
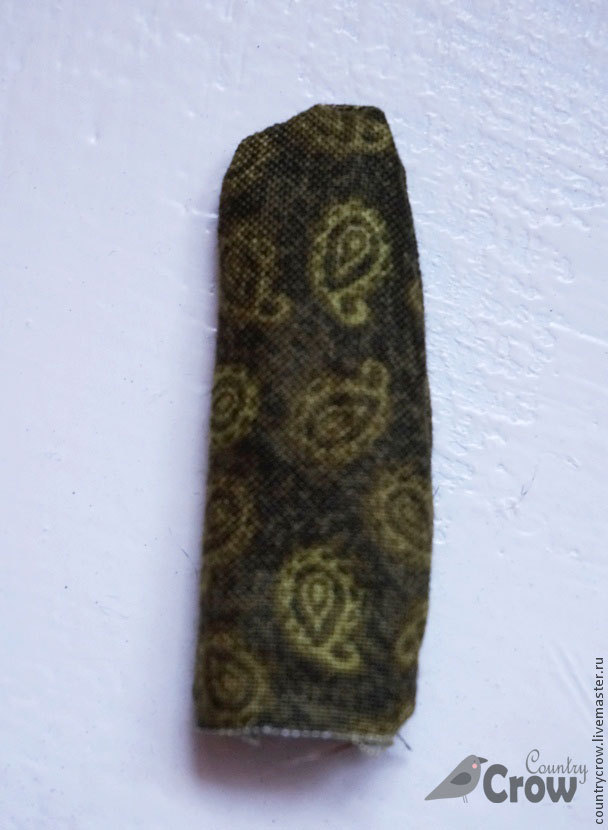
Сшиваем и выворачиваем черенок на правую сторону. Набиваем его.
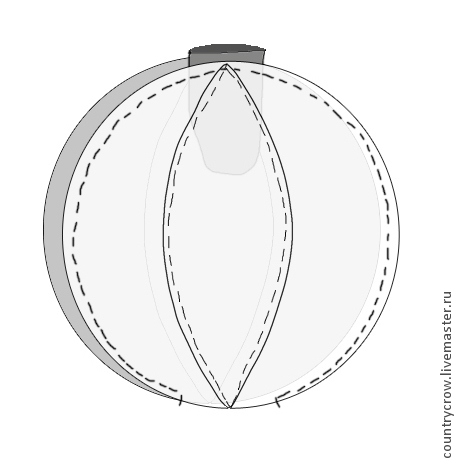
Place the stem
between two pumpkin sides, pin it, and sew pumpkin sides together. Leave an
opening in the bottom for turning.
❤
Вкладываем черенок между половинками тыквы, как показано на рисунке. Сшиваем половинки, оставив внизу отверстие для набивки.
Turn the pumpkin right side out and stuff it.
❤
Выворачиваем тыкву и набиваем.
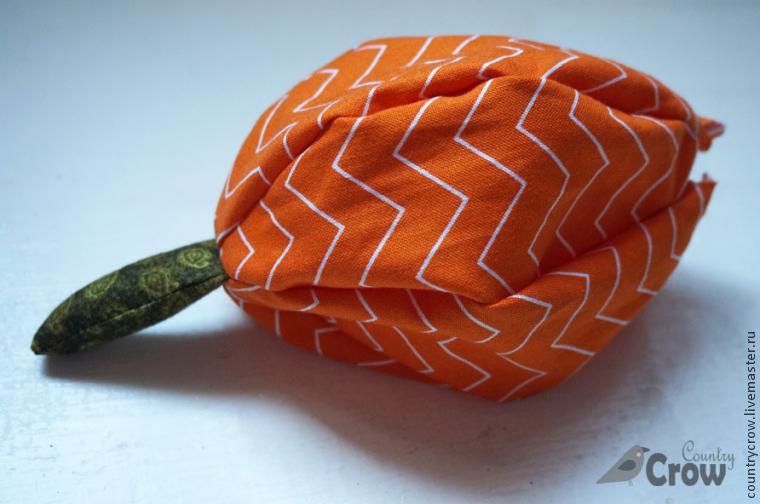
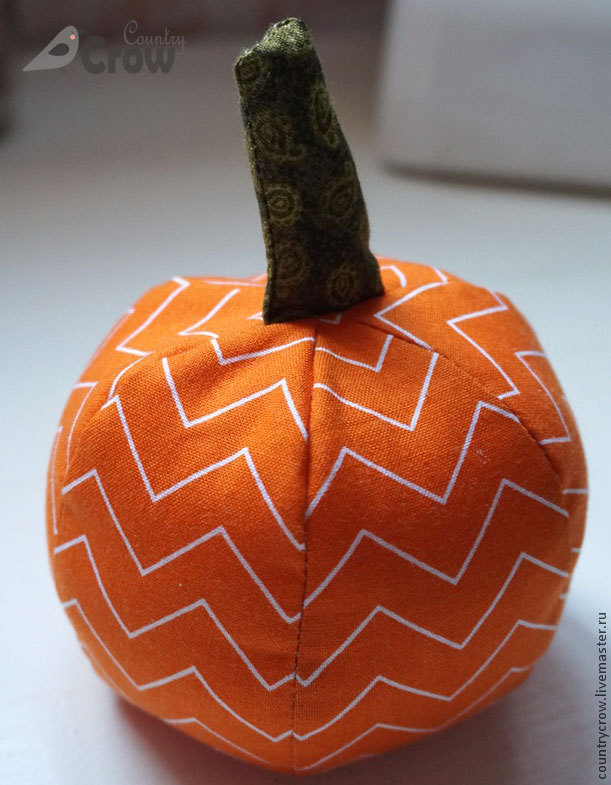
Sew up the opening.
❤
Зашиваем отверстие на дне.
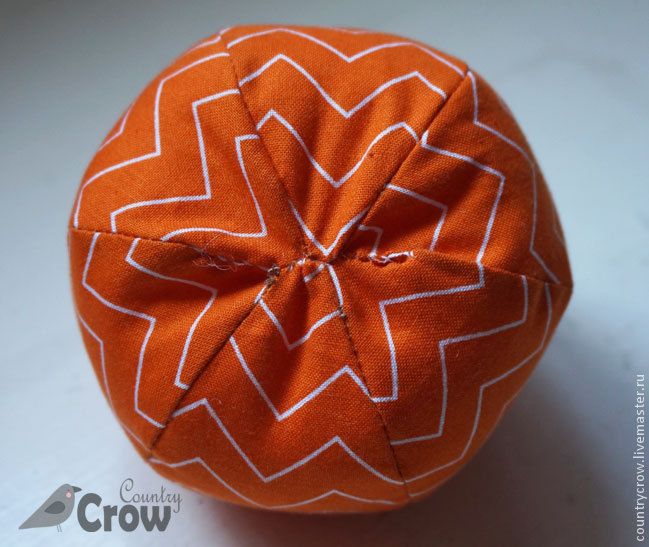
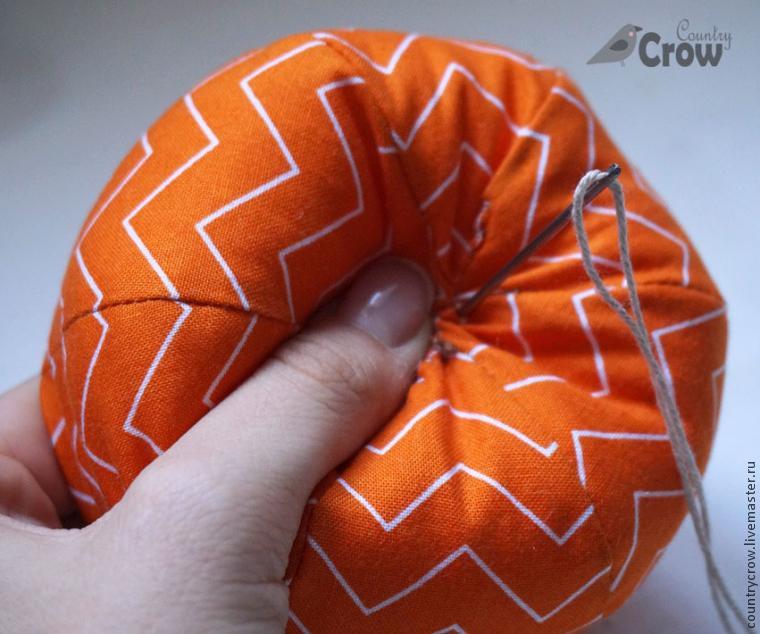
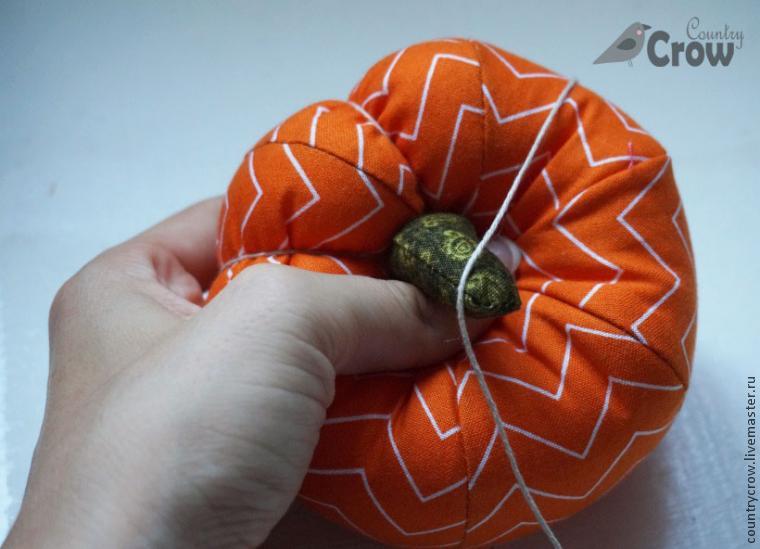
Take a big needle with thick thread and sew through the pumpkin center to make a pumpkin shape.
❤
Большой иголкой с толстой ниткой через центр стягиваем наш мячик, чтобы придать форму тыквы.
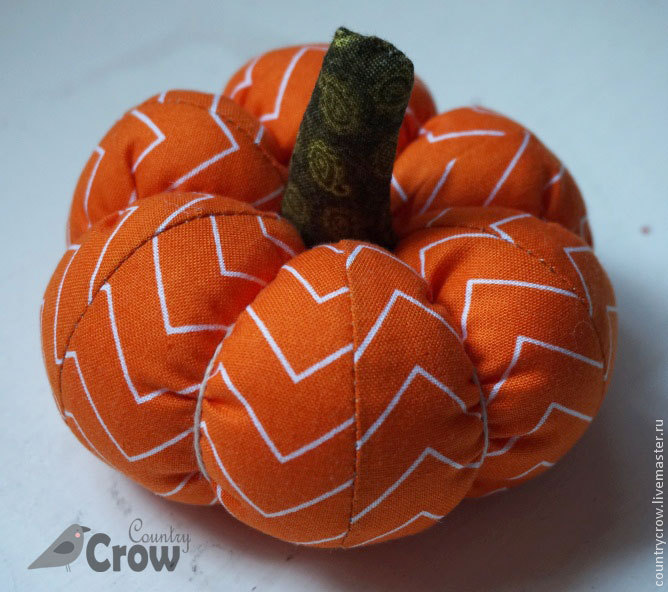
The pumpkin should look like this:
❤
Получится вот так:
Decorate it with a bow.
❤
Украшаем бантиком из шпагата.
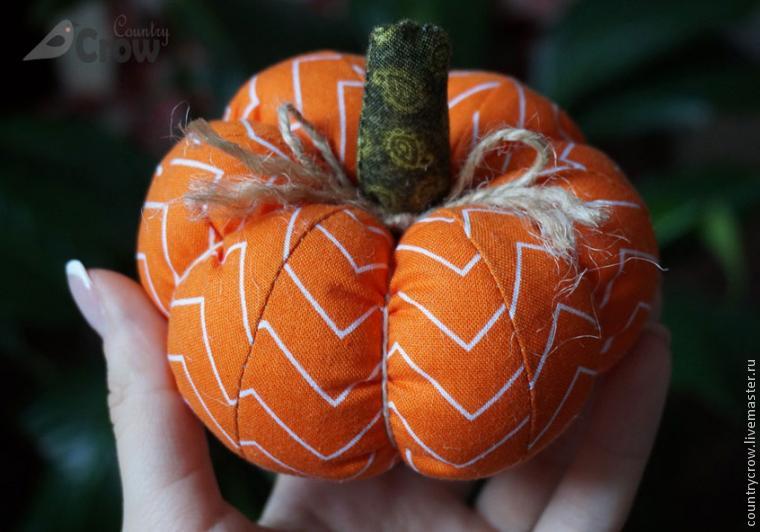
You're done! :)
You can also cut a circle of felt and hot-glue it to the bottom. Or you can do like I did:
I had a jar with an old handmade pincushion on the lid. It was worn out, so I decided to sew my pumpkin to the lid.
❤
Вот и всё, тыква готова! :)
По-желанию, на дно можно приклеить кружок из фетра, как подставку, а можно так как сделала я:
У меня была баночка, к крышке которой я давным давно приделала мягкую подушечку для иголок. Конструкция была старая и надоевшая. Поэтому возникла идея пришить тыкву к крышке баночки.
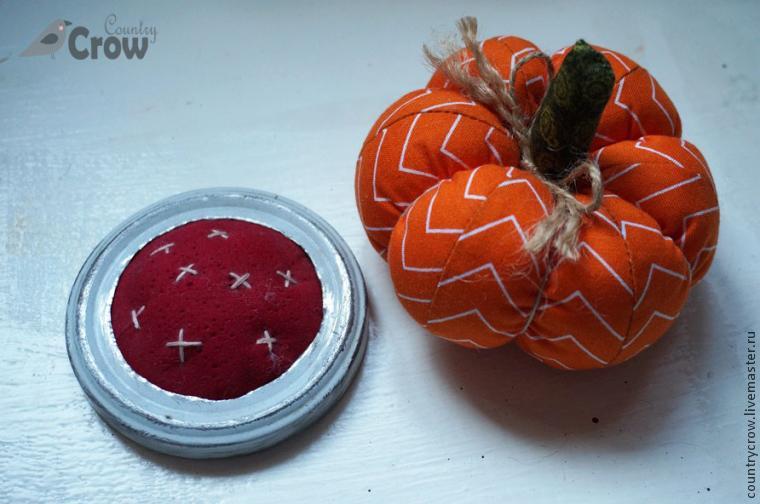
So, now I have a great pumpkin jar! You can put small sewing things inside and stick needles into the top. This is very useful and pretty! :)
❤
Так получилось и красиво и функционально. В баночке можно хранить швейные мелочи, а наверху - игольница! :)
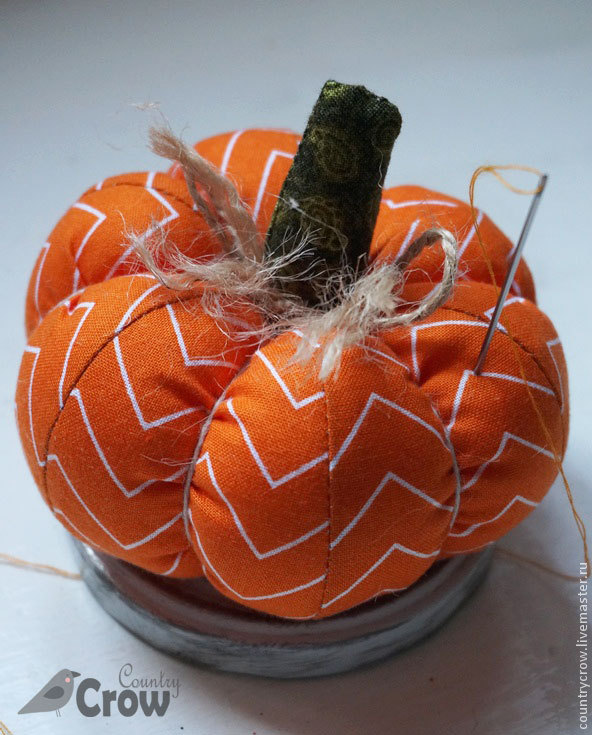
В итоге получилось вот так:
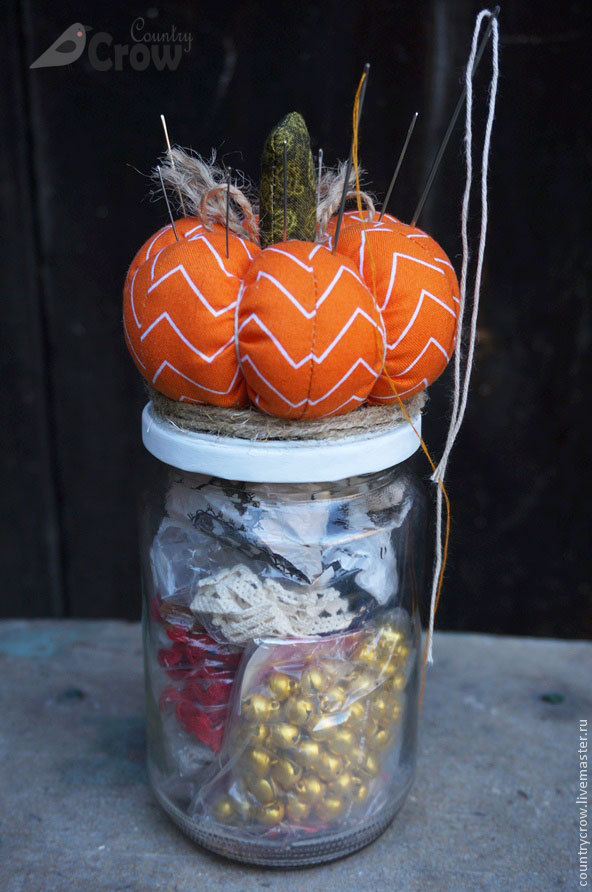
You can also hot-glue the pumpkin to the regular jar lid.
Thank you for reading my tutorial! Happy pumpkin-making to you!
❤
К обычной крышке тыкву можно приклеить с помощью горячего клея. Получится не хуже :)
Ну вот и всё! Красивых вам тыковок! :)









6 comments:
Anastasia,
This is the cutest little plump pumpkin! The tutorial is so well done! I just happen to have some orange fabric, so I may just try this! Thank you for posting!
Linda
mysewwhatblog
Thank you, Linda! I'm very happy that my tutorial is useful!
I haven't made any new pumpkins this year so I appreciate this pattern and tutorial! You always come up with the best designs! Enjoy your week ahead my friend! Happy sewing! Hugs, Diane
Thank you, Diane! :)
Oh, my goodness, this is adorable- great job! Thank you for the pattern! And thank you for sharing this with us at Treasure Box Tuesday- pinned! :)
Thank you, Joy! :)
Post a Comment